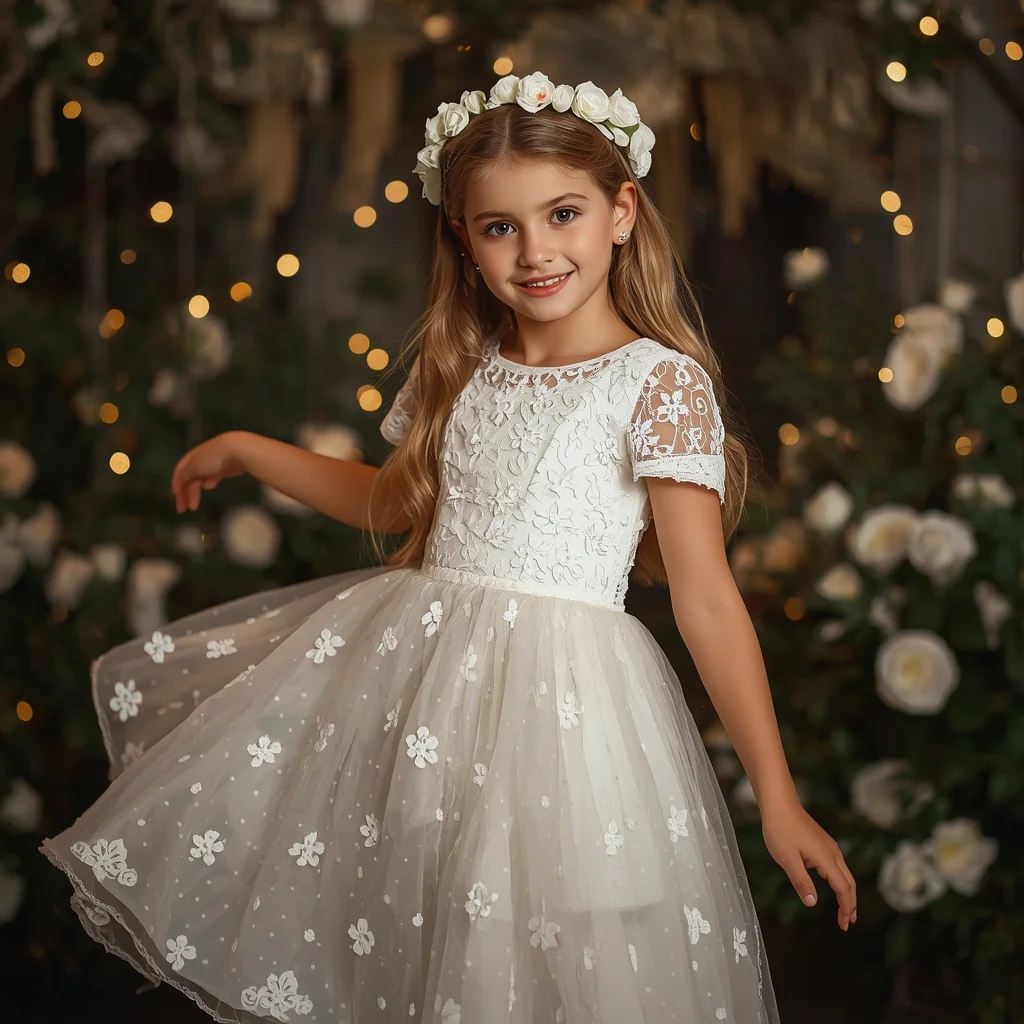

Hero Shot Premium AI Generation of a Designer Dress | Hero Showcasing Premium
A dress can be photographed on a runway, on a hanger, or on a person, but this prompt chooses none of those. It asks for a hero shot where a Premium AI Generation of a Designer Dress becomes the single subject, displayed on a mannequin or a ghost model so nothing competes with the garment. The result is closer to a museum object or a campaign key visual than a catalog photo, because the composition removes the human body and lets the fabric, embroidery, and silhouette carry the image.
The prompt is built around control. Studio lighting is not vague here; it is meant to make the fabric shimmer and reveal texture. The background is intentionally quiet, either a soft gradient or a subtle abstract shape, so the eye stays on the dress. Rendering language such as 16K resolution, Octane Render, and ray tracing pushes the output toward ultra quality, while professional color grading ties the whole frame to a luxury aesthetic. If you want a single image that behaves like an award winning art piece, this is the structure to follow.
What this designer dress hero shot is asking for
The prompt describes a controlled studio presentation of one garment. It does not ask for a model, a street, or a narrative scene. Instead, it asks the generator to treat the dress as a premium object, with the mannequin or ghost model acting as a neutral support. The lighting, background, and render settings all serve that single goal: make the dress look expensive, detailed, and deliberate.
- A designer dress shown as the only subject, with no competing props or figures.
- A mannequin or ghost model supporting the garment so the body shape is implied but not distracting.
- Studio lighting that makes the fabric shimmer and reveals embroidery and surface texture.
- A rich color palette that reads as luxury rather than flat or casual.
- A minimalist background, either a soft gradient or a subtle abstract shape.
- A 16K resolution render with Octane Render and ray tracing for ultra quality.
The studio scene and the quiet background
The scene is a studio with no visible room. The prompt says the dress is 'displayed on a mannequin or a ghost model', which means the support is either a clear form or an invisible one. That choice matters because a ghost model removes the mannequin's joints and seams, leaving the dress to hold its own shape. The background is described as 'minimalist and elegant, perhaps a soft gradient or a subtle abstract shape', so the environment never becomes a location. It becomes a field of color that pushes the dress forward.
Lighting is the second half of the scene. The prompt calls for 'precise Studio Lighting' that makes 'the fabric shimmers' and highlights 'textures, embroidery, and a rich color palette'. This is not soft daylight or a moody window. It is controlled, directional light that separates the dress from the background and gives every fold a readable edge. The final render language, '16K Resolution render with Octane Render and Ray Tracing', tells the generator to keep that separation clean at extreme detail.
Why this prompt works for a premium dress image
This prompt works because it removes everything that usually weakens a dress image. There is no model's expression to distract, no location to compete, and no clutter to hide the garment. The mannequin or ghost model gives the dress a body without giving it a personality, so the viewer reads the design first. The studio lighting and minimalist background then act as a frame, and the render settings keep the frame sharp.
- The single-subject composition makes the dress the hero rather than part of a scene.
- The ghost model or mannequin preserves the garment's silhouette without adding a human face or pose.
- The combination of studio lighting, 16K resolution, and ray tracing produces the kind of surface detail that reads as premium.
Three style directions inside this prompt
The prompt supports three distinct style directions, and all three stay inside its own language. You do not need to add a new genre or a new setting. You only need to decide how the existing studio, lighting, and render settings should lean.
The first is luxury editorial, where the dress reads like a campaign image for a high-end house. The second is ghost mannequin product photography, where the invisible body and clean background dominate. The third is abstract render art, where the subtle background shape and ray-traced fabric become the visual idea itself.
- Luxury editorial: Push the professional color grading and rich color palette so the dress feels like a magazine cover object rather than a product listing.
- Ghost mannequin product photography: Keep the mannequin or ghost model completely neutral and let the studio lighting define every seam, fold, and embroidery line.
- Abstract render art: Let the soft gradient or subtle abstract shape in the background become a visible form, while the 16K resolution and ray tracing keep the dress ultra detailed.
How to generate this hero shot step by step
The process is simple, but the order matters. Start with the prompt text exactly as written, then add a reference only if you need a specific dress shape. Generate a first pass, inspect the result at full size, and fix the small failures before you upscale or rerender. The goal is to protect the dress as the hero, not to add more elements.
- Copy the prompt. Paste the full prompt into your generator so the mannequin or ghost model, studio lighting, and 16K render language stay intact.
- Upload a reference. If you need a particular silhouette or embroidery layout, upload a dress reference and keep its influence moderate so the studio setup still dominates.
- Generate the first pass. Run the prompt at a square or portrait ratio and check whether the dress reads as the only subject.
- Check hands and face. Even with a ghost model, some generators add a partial figure; remove any hands, face, or skin that appears.
- Check the main object. Zoom into the dress and confirm that embroidery, fabric shimmer, and color palette are visible and not smeared.
- Refine and rerender. Adjust lighting or background language only if the dress loses focus, then rerender at the highest available resolution.
Using a reference photo for the dress
A reference photo helps when you already know the dress you want. It can be a flat lay, a hanger shot, or a previous render. The prompt does not require a reference, but a good one reduces guesswork about silhouette and embroidery placement. Keep the reference clean and well lit so the generator can read the garment's actual shape.
- Use a photo where the dress is fully visible, not cropped at the hem or neckline.
- Avoid busy backgrounds in the reference, because the prompt already asks for a minimalist studio background.
- If the reference has a model, crop or mask the body so the generator focuses on the garment rather than the pose.
Which AI tools handle this prompt best
Different tools interpret studio lighting and render language differently. ChatGPT is useful for prompt refinement and for checking whether your wording still matches the original intent. Google Gemini can help with composition notes and color palette descriptions. Leonardo AI and Midjourney are the stronger image generators for this kind of hero shot, especially when you need fabric shimmer and embroidery detail at high resolution.
| Tool | Access | Typical realism | Useful here for |
|---|---|---|---|
| ChatGPT | Web and mobile chat | Not an image generator by default | Rewriting the prompt so the mannequin or ghost model and studio lighting stay clear. |
| Google Gemini | Web and mobile app | Moderate for image generation | Describing the soft gradient background and the rich color palette before you generate. |
| Leonardo AI | Web app with free credits | High for product and fashion renders | Producing the fabric shimmer and embroidery detail that the studio lighting is meant to reveal. |
| Midjourney | Discord and web app | High for editorial and luxury looks | Rendering the 16K resolution, Octane Render, and ray tracing language as a polished hero shot. |
Three practical tips for a cleaner dress render
Small changes in wording can decide whether the dress reads as premium or as a flat product shot. These three tips focus on the real objects in the prompt: the dress, the mannequin or ghost model, and the studio lighting. They do not add new props or change the scene.
- Name the fabric behavior you want, such as shimmer or matte, because the prompt already says the fabric shimmers under studio lighting.
- Keep the mannequin or ghost model neutral; if you describe a pose or a face, you break the single-subject focus.
- Mention embroidery placement only if it matters, because the prompt already asks for textures and embroidery to be highlighted.
Common failures and what to change
This prompt can fail in predictable ways. The generator may add a human figure, flatten the lighting, or lose the dress in a busy background. Each failure has a specific fix, usually by removing language or reinforcing the studio setup.
| Issue | What to change |
|---|---|
| A face or hands appear on the ghost model | Add a negative instruction for skin, faces, and hands, and repeat that the dress is on a mannequin or ghost model. |
| The background becomes a room or a landscape | Reinforce the minimalist background and specify a soft gradient or a subtle abstract shape. |
| The dress looks flat and loses fabric shimmer | Strengthen the studio lighting clause and ask for visible textures and embroidery. |
| The render looks soft instead of ultra detailed | Repeat the 16K resolution, Octane Render, and ray tracing terms, and avoid downscaling before you inspect it. |
Frequently Asked Questions
Do I need a mannequin or a ghost model for this prompt?
The prompt allows either. A mannequin gives a visible form, while a ghost model removes the body and lets the dress hold its own shape. If you want the cleanest luxury look, choose the ghost model.
Can I use this prompt for a dress I designed myself?
Yes, but use a reference photo and keep the prompt's studio lighting and minimalist background. The reference guides the silhouette, while the prompt keeps the presentation premium.
Why does the prompt mention Octane Render and ray tracing?
Those terms push the generator toward realistic light behavior and surface detail. They help the fabric shimmer and the embroidery read clearly at 16K resolution.
Conclusion
This hero shot prompt is a focused tool for one job: make a designer dress look premium without distractions. The mannequin or ghost model, studio lighting, minimalist background, and render settings all point in the same direction. If you keep the dress as the only subject and let the light reveal texture and embroidery, the result can genuinely read as an award winning art piece.
Edit only photos you have the right to edit, and treat every generated dress image as a design reference rather than a claim on someone else's garment.